Publishing & embedding
Publishing & embedding
Beyond phone numbers, you can put an agent in front of website visitors and end users in three ways — all configured by you from the dashboard, with no help from us:
- a hosted public page anyone can open in a browser,
- an embedded voice/chat widget (a floating button) on your own site, and
- a Chat API you call from your own server to build a fully custom chat UI on the agent — same brain, knowledge bases and tools, without running your own RAG pipeline.
You configure all of this under an agent's Publish panel.
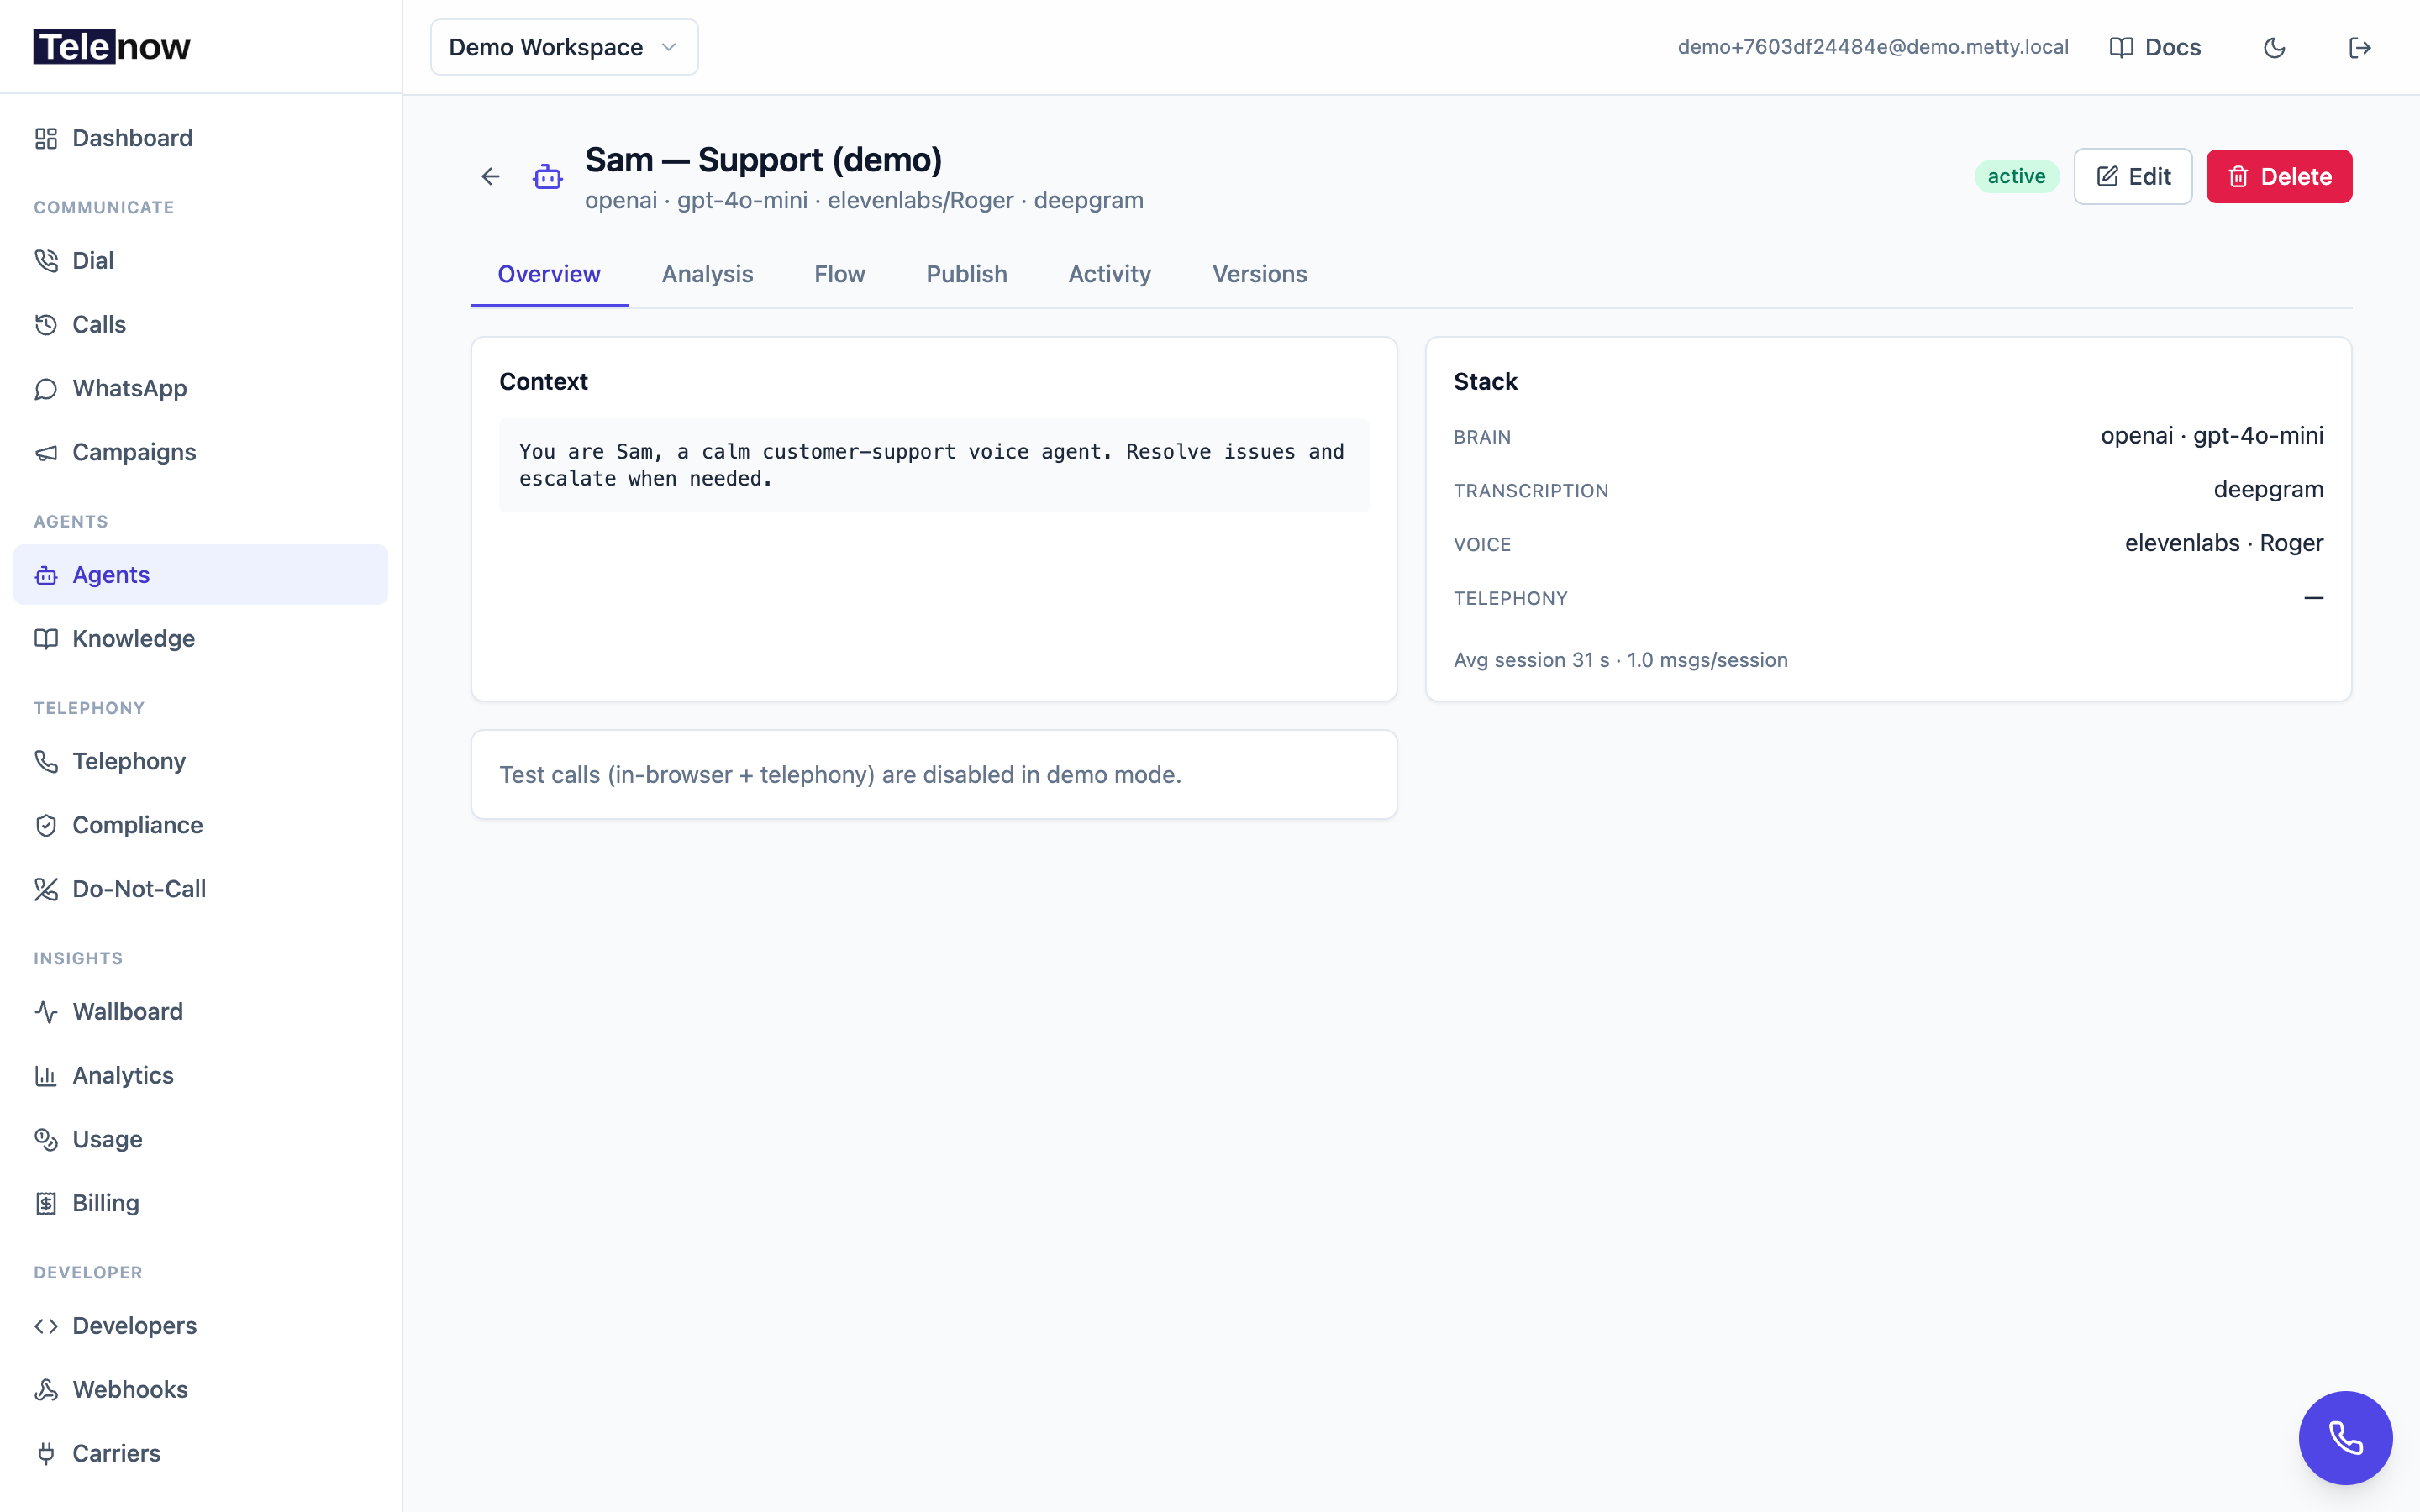
An agent's page — the tab strip across the top includes Publish, which holds the public link, the embed snippet, branding, lead-capture settings, and the API samples.
Open the Publish panel
- Go to Agents in the sidebar and open the agent you want to expose.
- Click the Publish tab.
- The panel auto-creates a stable slug for the agent the first time you open it (so the link and embed snippet are ready to copy), but the agent stays private until you flip Public link on.
Reading the Publish panel is open to any org member, but turning an agent public (and editing its branding/access settings) is an owner/admin action — the same governance bar as billing. Members see the settings read-only.
Publish settings
| Section | Setting | What it does |
|---|---|---|
| Public link | toggle on/off | Enables the hosted page at …/p/{slug} and the embeddable widget. Off = the link and widget return "unavailable". |
| Public link | Access code (optional) | Require a code before any session starts. Leave blank for no code. |
| Appearance | Widget title, Button label, Greeting, Accent color | Branding for the hosted page + widget. Accent color is a hex value (default #4f46e5). All optional. |
| Appearance | Allowed origins | Comma-separated list of sites permitted to embed the widget. Blank = any origin. |
| Modes & lead capture | Voice call / Text chat | Enable browser voice, text chat, or both. With both on, the widget shows a Call/Chat toggle. (At least one must be on or the widget has nothing to offer.) |
| Modes & lead capture | Collect visitor details before connecting | Turn on lead capture, then add fields. |
The agent must also be active for the public link to resolve — a paused or deleted agent makes the link "unavailable".
When you finish editing, click Save. Nothing persists until you do.
The public link
When the public link is enabled, share https://telenow.ai/p/{slug}. Visitors get a clean, branded page with a call (and/or chat) button — no login required. The slug is assigned by Telenow once and never changes, so a link you've already pasted stays valid forever.
This page is handy for email signatures, QR codes, a "Talk to us" button, or anywhere you'd rather link out than embed.
Embedding on your site
Drop the agent onto any website with a single script tag. The loader injects a floating button that opens the widget in an iframe pointing at our hosted page:
<script async src="https://telenow.ai/widget.js" data-slug="YOUR_AGENT_SLUG"></script>
Place it before </body>. The Publish panel generates the exact snippet for your agent (using your backend's URL). Because the widget runs in an iframe to our hosted page, you don't ship any of our code into your bundle and updates roll out automatically. See the step-by-step Embed the widget guide.
Lock it down with Allowed origins
Set Allowed origins to your site's origins (e.g. https://acme.com, https://app.acme.com). Session creation is rejected from any other origin, so the widget can't be used to spend your agent's minutes from a random page. A blank list allows any origin — fine for a hosted page, but tighten it for an embed.
Personalizing with variables
If the agent uses context variables ({placeholder} tokens in its prompt or opener), the public page and widget ask the visitor for the required ones before connecting. When your page already knows a value, pre-fill it on the script tag so the visitor isn't asked twice:
<script async src="https://telenow.ai/widget.js"
  data-slug="YOUR_AGENT_SLUG"
  data-vars='{"customer_name":"Alex","plan":"Pro"}'></script>
The Publish panel's snippet lists the agent's variables. Use the data-vars JSON form (it preserves capitalization); the data-var-<name> shorthand only works for all-lowercase names because HTML lowercases attribute names.
Lead capture
When lead capture is on, the widget asks for the fields you configured before connecting. Each field has a label, a type (Text, Email, Phone, or Number) and a Required toggle. Captured values are attached to the resulting call and surface under Lead details in call history — and in the call.ended webhook if you ingest events, so leads flow straight into your CRM.
Access code
For gated experiences, set an access code in the Publish panel. Visitors must enter it before a session starts; the code is enforced on our server and is never sent to the browser. (For finer programmatic control, mint sessions yourself — see Programmatic web calls.)
Chat mode & the Chat API
With Text chat enabled, the widget can hold a text conversation with the same agent (system prompt, knowledge, tools) — no microphone needed. Useful as a website assistant or as a fallback when voice isn't appropriate.
If you want your own chat UI — your design, your bot, your messaging app — call the Chat API from your server instead of embedding the widget. It's a plain synchronous REST endpoint (POST /api/v1/chat) that runs one turn against the agent and returns the reply, reusing the agent's knowledge bases and tools so you don't have to build or host a RAG pipeline. Conversations show up in call history as chat with full transcripts, billing and post-call analysis. See Chat API and the Build a chat bot walkthrough.
Identifying the caller for tools
If the agent has caller identity enabled (agent builder → Tools → "Send caller identity to tools"), pass a trusted identifier when you start a session from the API and Telenow injects it into the agent's tool calls so they can validate/look up the caller:
# Outbound phone call
-d '{ "agentId": "…", "mobileNumber": "+1XXXXXXXXXX", "identifier": "acct_42" }'  # → /api/sessions/initiate-call
# Web call (from your server)
-d '{ "agentId": "…", "identifier": "acct_42" }'                         # → /api/sessions/init-web-call
# Chat API turn
-d '{ "agentId": "…", "identifier": "acct_42", "input": "…" }'           # → /api/v1/chat
The dialed number is captured automatically on phone calls, so you only pass the identifier. The Publish panel includes this field in its API samples when the agent has it enabled. The anonymous public widget/share link doesn't send an identifier (it can't be trusted). Full details: Caller identity.
Outbound call options
The Publish panel's samples show the minimum body. Two optional fields matter on real outbound campaigns:
curl -X POST https://api.telenow.ai/api/sessions/initiate-call \
  -H "X-API-Key: <YOUR_API_KEY>" -H "Content-Type: application/json" \
  -d '{
    "agentId": "…",
    "mobileNumber": "+1XXXXXXXXXX",
    "machineDetection": "hangup",
    "fromNumber": "+1XXXXXXXXXX"
  }'
machineDetection — what happens when voicemail picks up. "hangup" drops the call the moment the carrier says machine; "true" waits for the beep and leaves the agent's voicemail message. Omitting it is not "off" — a configured voicemail message, Call Screen, or IVR Hangup on the agent each arm detection on their own, because none of them can run without a machine verdict. Supported on Plivo, Twilio, Vobiz and Vonage; inert on Exotel (needs account-level AnsweredBy detection) and unavailable on Tata Tele Smartflo (no detection parameter and no verdict field exist) and on SIP trunks.
fromNumber — which of your numbers the recipient sees. Omit it and the call goes out from the number allocated to the agent. Pass any number your workspace owns, in E.164, to present a different one. A number you don't own is a 400 rather than a silent fallback to another number — the lookup is scoped to your organization, so this can't be used to spoof a caller ID. If you prefer ids, fromNumberId takes the id from GET /api/v1/numbers; send one field or the other, not both.
Both fields, the full carrier matrix and the caller-ID resolution order are documented in the Sessions & calls API.
Programmatic web calls
If you want full control over the voice experience — your own UI, your own button — start a session from your backend and connect the browser to the returned WebSocket URL. See Programmatic web calls and the Web-call API.
Webhooks for published agents
Published-agent conversations fire the same webhook events as any other call (call.started, call.ended, recording.ready, call.analyzed, …), so leads and transcripts can flow straight into your CRM. Lead-capture answers ride along in call.ended.
API reference
The dashboard config and the unauthenticated widget endpoints are documented in the Publishing & widget API. The programmatic surfaces are Web-call API and Chat API.
Tips
- Test before you share. Open
…/p/{slug}yourself (incognito) once you've enabled the public link. - Abuse protection is built in. Anonymous sessions are rate-limited per slug + IP and capped per organization, so a leaked link can't run up your bill unchecked. Add an access code and tighten Allowed origins for sensitive agents.
- Branding lives on the agent, not on your page — edit the title/greeting/color in the Publish panel and the change ships to every embed instantly.