Team & workplace
Team & workplace
The Workplace area is where owners and admins manage the organization, the people in it, and how inbound calls are routed to those people. Everything on this page is self-serve from the dashboard — no help from Telenow is needed.
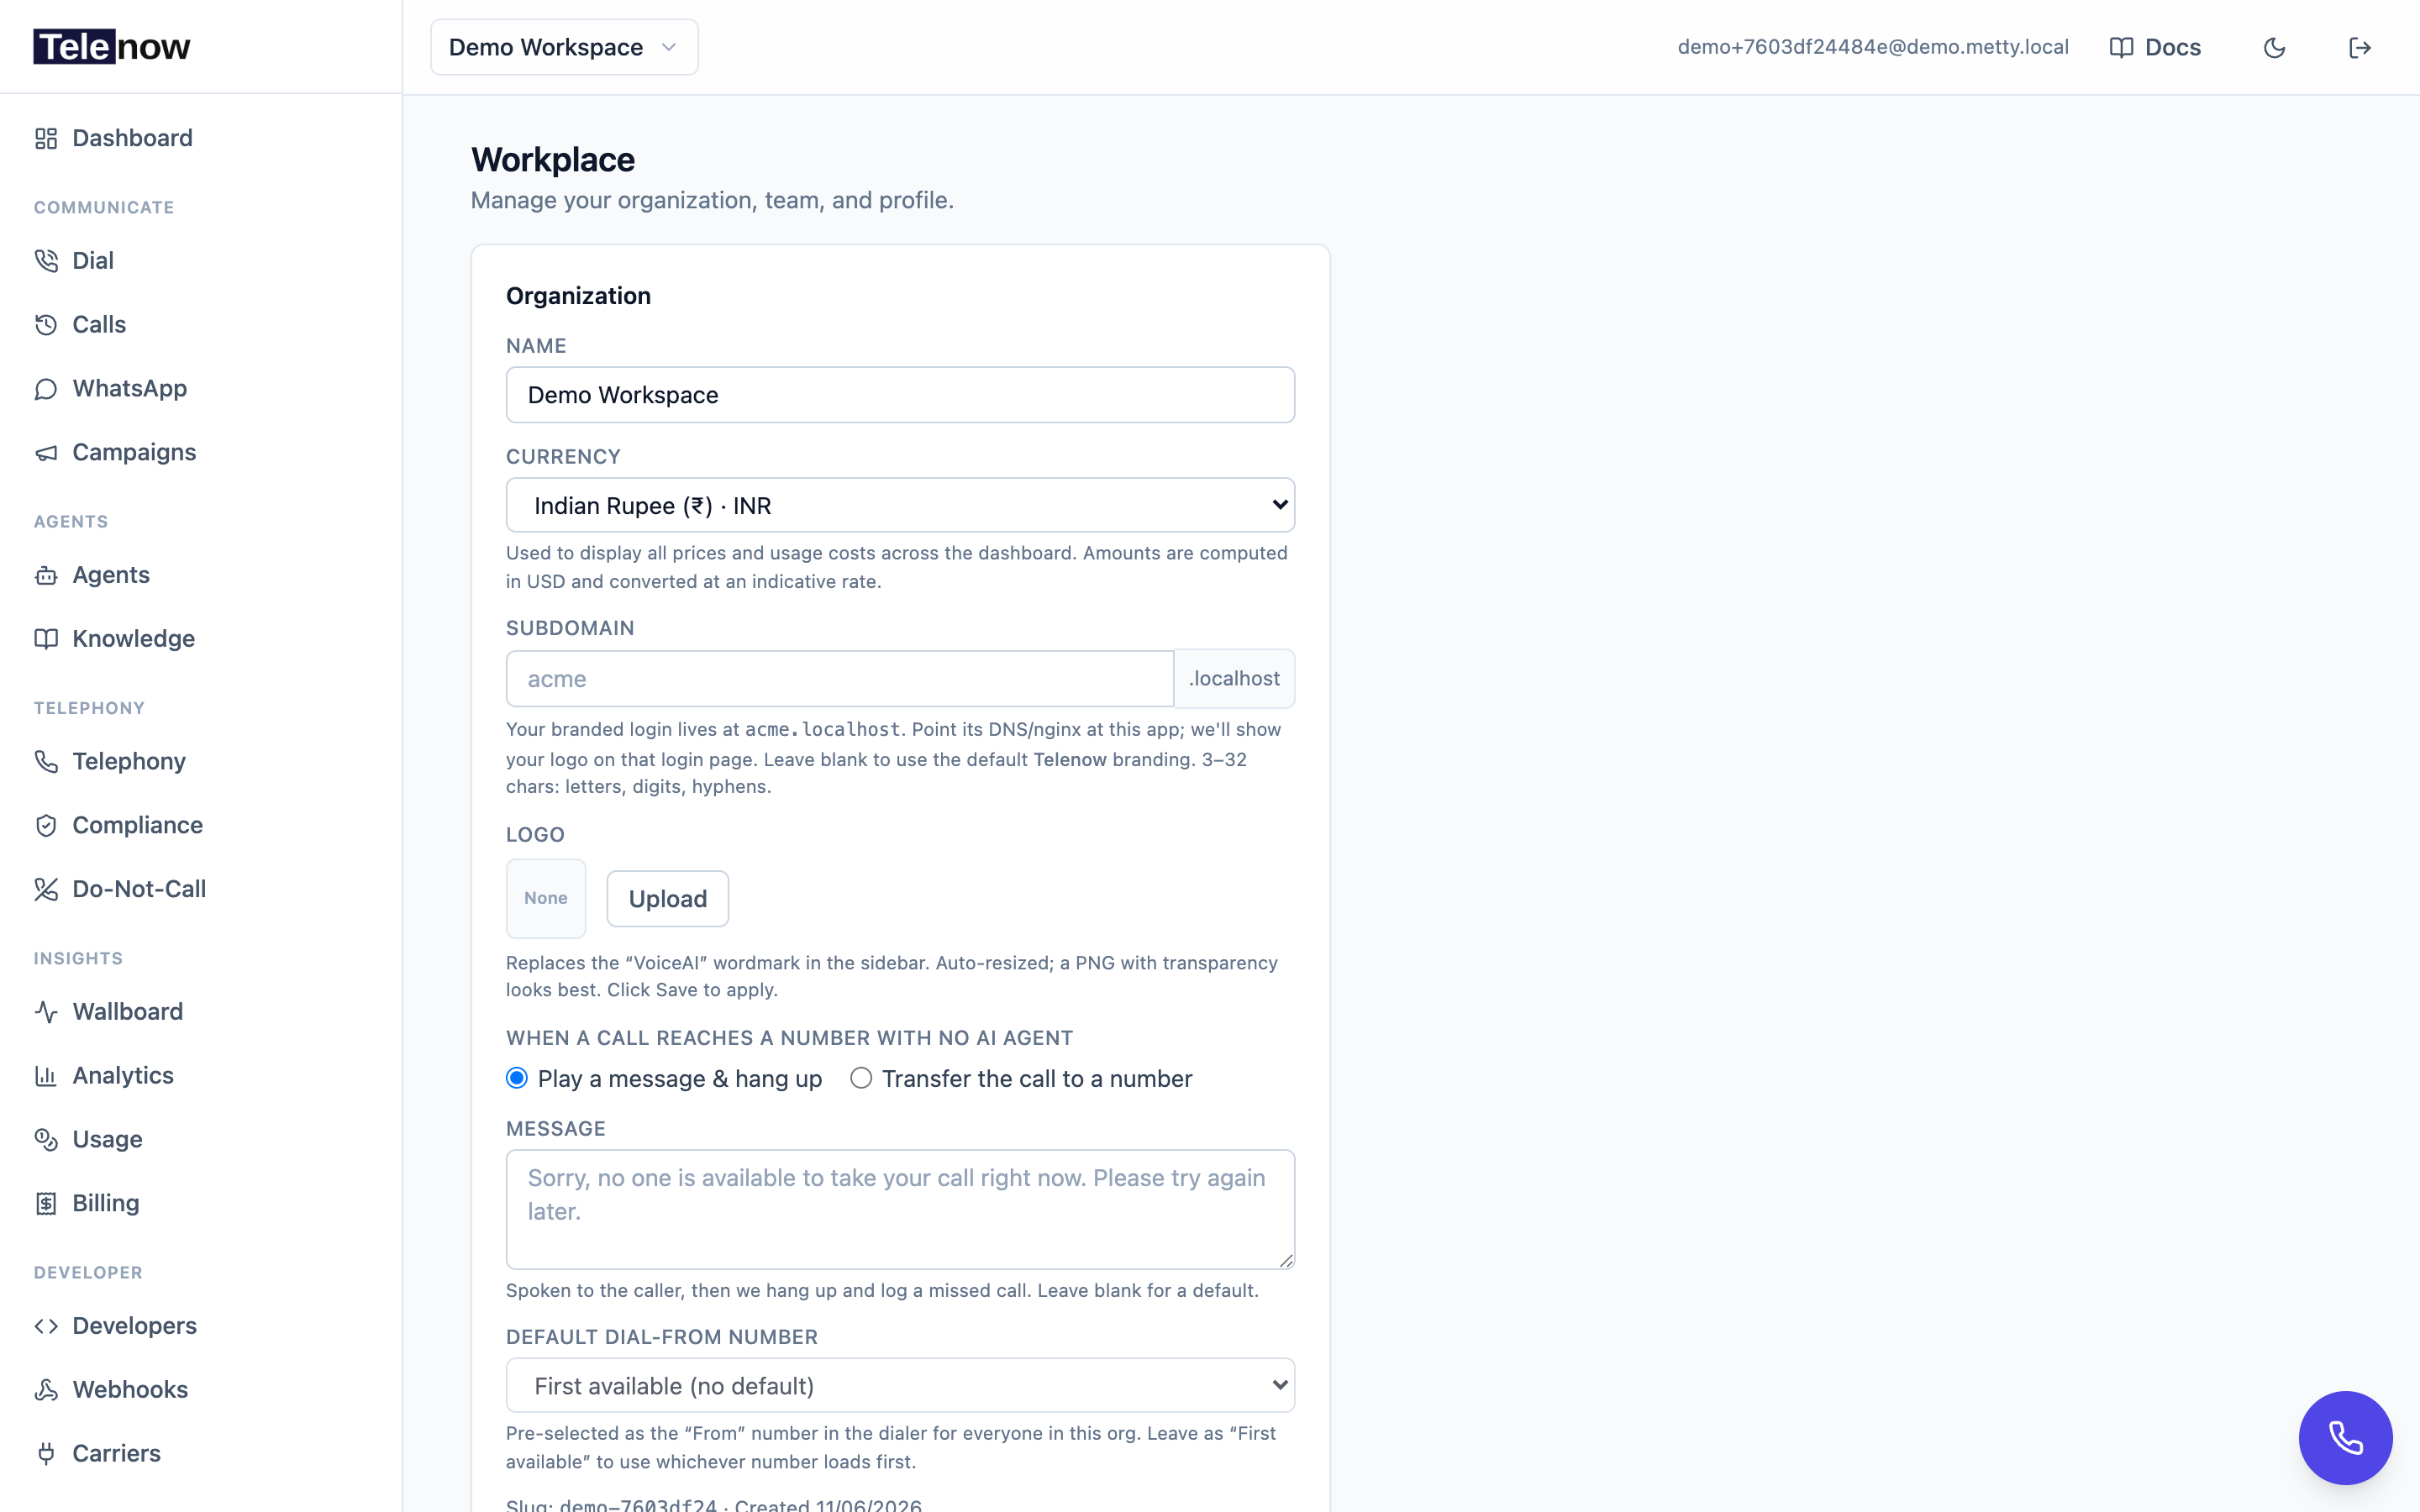
Workplace — organization profile, members, access roles, departments and call-routing settings in one place.
Where to find it
Open Settings → Workplace in the sidebar. The Team page has three in-page tabs:
| Tab | What it does |
|---|---|
| Members | Add/remove teammates, set their role, allocate a number, configure call routing. |
| Roles | Define custom access roles that limit which dashboard pages a member sees. |
| Departments | Static labels (Sales, Support, …) for organizing the team. |
The Organization tab (logo, subdomain, currency, missed-call behavior, default dial-from number) is covered in White-label & branding and Billing & usage. The Profile tab is each user's own account view — see Profile below.
Built-in roles
Every member has one base role that drives what they can do across the dashboard and the API:
| Role | Can do |
|---|---|
| Owner | Everything — including changing the plan, transferring ownership, and deleting the org. There is always at least one owner. |
| Admin | Manage members, numbers, agents, recordings, billing, publishing and workplace settings. Cannot delete the org or transfer ownership, and cannot create or promote other admins (only an owner can mint admins). |
| Developer | Create/edit agents and numbers, manage API keys and recordings, read the team. No billing or member management. |
| Viewer | Read-only — can view everything but change nothing. |
| Member | Read-only (same access as Viewer in the current model). |
To change someone's role, open Settings → Workplace → Team → Members and pick a new value from the Role dropdown on their row. The owner row is locked. Promoting someone to owner is intentionally not a dropdown choice — it requires a separate transfer-ownership flow. Demoting the last remaining owner is blocked; promote another member to owner first.
Adding teammates
Telenow does not send invitation emails. When you add a teammate the account is created immediately and a one-time password is shown for you to share securely.
- Go to Settings → Workplace → Team → Members.
- Click Add user.
- Fill in First name, Last name, Email, optional Mobile, and a Role.
- Optionally set an Allocated number, Number use, Fallback AI agent, Access role and Department (all explained below).
- Click Add user.
If the email is brand-new, an Account created dialog shows the email and a generated password — copy and share these securely; the password is shown only once.
If the email already has a Telenow account, it is not added straight away — that account may belong to someone outside your company, with their own data and their own organizations. Instead they receive an invitation, and appear under Awaiting acceptance until they accept it. The role, allocated number and other settings you chose are applied at that moment. You can withdraw a pending invitation from that list at any time.
A person can belong to any number of organizations and switches between them with the organization picker in the header. Their password is their own — it is not shown to you, and they can change it themselves under Settings → Profile.
Only owners and admins can add users; admins can't pick the admin role when adding (only an owner can create admins). Everyone else sees the Members list read-only.
Allocated numbers & caller ID
Each member can be given an allocated number — their dedicated line. Pick it from the Allocated number dropdown in the add/edit dialog. The list shows annotations so you can choose safely:
· BYOC— a number you brought via your own carrier.· shared (N)— already allocated to N other members.· answers with <Agent>— currently bound to an AI agent (see the exclusivity warning below).
A single number can be shared across several members. When more than one member holds a number, one of them is the primary receiver for inbound — tick Primary receiver for this number in the dialog. There is one primary per number; choosing a new primary automatically clears the old one.
"Number use" — inbound vs outbound
The Number use dropdown (enabled only once a number is allocated) has two options:
| Option | Effect |
|---|---|
| Inbound & outbound | The number is the member's caller ID in the dialer and inbound calls to it ring the member. |
| Outbound only (caller ID) | The member just dials out with this number as caller ID. Inbound to the number stays with whatever else answers it — typically the number's AI agent. |
Inbound is exclusive
A number either rings a member or answers with an AI agent — never both. (If both were allowed, the inbound router would always pick the member and the agent would never see the call.) Telenow blocks the conflicting change in both directions with a 409 Conflict:
- In Workplace: allocating a number for inbound (Number use = Inbound & outbound) while an AI agent is assigned to it is rejected. The dialog warns you in advance — "This number currently answers with {agent}. Inbound allocation will be rejected — unassign the agent on the Numbers page first, or pick 'Outbound only'."
- On the Numbers page: assigning an AI agent to a number that a member already receives calls on is rejected — "This number is allocated to a team member for inbound calls. Switch their allocation to outbound-only (or remove it) in Settings → Workplace before assigning an AI agent."
To resolve a conflict either switch the member to Outbound only, or unassign the agent on the Telephony / Numbers page. Outbound-only allocations never claim inbound, so they coexist with an AI agent on the same number with no conflict.
How inbound calls are routed
When a call comes in to an allocated number — on any carrier, including SIP trunks — Telenow walks this chain to decide who answers:
- Ring the member's dashboard. If the member has Number use = Inbound & outbound, has a mobile on file, and is present (signed in and marked available right now), their browser softphone rings. With several members sharing the number, the call goes to the primary receiver, otherwise whoever last answered on that number, otherwise the most-recently-allocated member. The first to accept is connected and the others stop ringing.
- Bridge to their mobile. If the member isn't present (or has no mobile), and they're set to receive inbound with a mobile on file, the call is forwarded to that mobile number.
- Fallback AI agent. If the member isn't reachable on the dashboard or mobile — or Number use = Outbound only so they don't take inbound — the call is answered by the member's Fallback AI agent, if one is set.
- Org-wide missed-call action. With no fallback agent, the call falls through to the organization's missed-call behavior (set on Settings → Workplace → Organization): either play a message and hang up, or transfer the call to a number. The call is logged as missed.
Presence step needs a mobile. The "ring the dashboard" step only fires when the member has a mobile number saved (it's also the no-answer bridge target). A member with no mobile skips straight to their fallback agent or the org default.
The Receives calls toggle on each Members row is a quick switch for steps 1–2. When it's off, the row shows where the call goes instead (Off → <Agent> or Off → AI agent).
Fallback AI agent
Set a Fallback AI agent in the add/edit dialog to back a member when they don't answer (or are outbound-only). One agent can back several members. Build these agents on the Agents page.
Custom access roles
Beyond the built-in roles you can define custom access roles to tailor which dashboard pages a member sees.
- Go to Settings → Workplace → Team → Roles.
- Click New role, give it a name (e.g. Sales).
- Tick the pages this role can open. Available pages include Dial, WhatsApp, Agents, Telephony, Calls, Analytics, Wallboard, Knowledge, Campaigns, Do-Not-Call, Usage, Compliance, Developers, Webhooks, Carriers and SIP trunks.
- Click Save, then assign the role to a member via the Access role dropdown when adding or editing them.
Dashboard and Profile are always reachable regardless of role. Owners and admins always see every page; a member with no custom role assigned sees the default set.
Custom roles restrict dashboard pages only — not what a member can do. They do not change the base permission matrix. A member's capabilities (and the API surface they can call) are governed entirely by their built-in role (owner/admin/developer/viewer/member). For example, a developer with a custom role that hides the Agents page in the sidebar can still create and edit agents over the API with an API key — page restrictions are a UI convenience, not a security boundary. Use the base role to limit capability; use custom roles to declutter the navigation.
Deleting a custom role doesn't remove the members who had it — they simply revert to the default page set.
Departments
Departments are static labels for organizing the team (Sales, Support, …). Create them under Settings → Workplace → Team → Departments, then assign members via the Department dropdown. Departments are purely organizational — they do not affect access or call routing.
Profile
Each user has a Profile view under Settings → Profile showing their email, role, and user id.
The Profile tab is currently read-only. Password and email changes are not yet available in the dashboard. Multi-factor authentication (TOTP) is supported by the authentication API but does not yet have a dashboard UI — there is no "manage password/MFA" screen in Workplace today.
Self-serve signup & demo mode
New organizations can be created without any Telenow involvement:
- Self-serve signup — sign up with an email verification code plus a WhatsApp OTP, then create your organization. The first org on a verified signup may receive a welcome credit grant. (Owners can enable/disable self-serve signup at the platform level.)
- Demo mode — from the main login page, click Explore demo mode to spin up a sandboxed, read-only org to look around. Demo mode is hidden on branded subdomain logins.
See Quickstart to get going, and Billing & usage for credits and plans.
API
Organization, member, role and department management is available over the dashboard API under /api/orgs/{orgId}/… — see Organizations, team & API keys for the full endpoint list and field names. Member, role and access changes are recorded in the Audit log.
Tips
- Decide inbound vs caller-ID first. If you want a number to keep answering with an AI agent, allocate it to members as Outbound only. Reserve Inbound & outbound for human-answered lines.
- Give members a mobile. Without one, the dashboard-ring and mobile-bridge steps are skipped and inbound jumps straight to the fallback agent or org default.
- Set a fallback agent on every human line so missed calls are still handled gracefully.
- Share a number sensibly. When several members share a number, designate a primary receiver so routing is predictable.
Troubleshooting
- "This number answers inbound calls with an AI agent" (409) when saving a member. The allocated number is bound to an agent. Switch the member to Outbound only, or unassign the agent on the Numbers page.
- "This number is allocated to a team member for inbound calls" (409) when assigning an agent. A member receives inbound on that number. Switch their allocation to outbound-only (or remove it) in Workplace first.
- A page-restricted member can still call the API. Expected — custom roles gate the dashboard navigation, not API capability. Lower the member's base role to restrict what they can do.
- Inbound never rings the dashboard. Confirm the member is present, has Number use = Inbound & outbound, and has a mobile on file (the presence step requires one).
- An added member didn't appear in the list. That address already had an account, so they were sent an invitation instead of being added. They show under Awaiting acceptance until they accept, and the allocation settings you chose are applied at that point. A person can belong to several organizations and switches between them with the organization picker in the header.